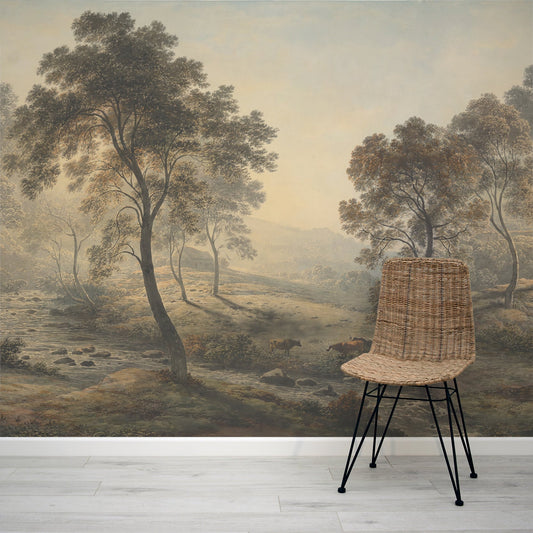
A wall mural is a great way to transform any room in your home, adding personality and style into your space. The right mural can completely change the feel of your room, and whether you're into bold landscapes, abstract patterns, or subtle floral designs, we have a range to suit every need.
Applying wallpaper properly is essential to achieving a professional-looking finish, and it can feel tricky if you’re new to it. This step-by-step guide on how to apply a wall mural makes the process simple and manageable. It focuses on traditional paste-the-wall murals, where adhesive is applied directly to the wall. With proper preparation and careful application, even DIY beginners can achieve a smooth, professional-looking finish!
Table of Contents
- Tools and Materials You'll Need
- Preparation Before Installing a Wall Mural
- How to Apply a Wall Mural Step-by-Step
- Top Tips for a Successful Mural Installation
- Ready to Apply Your Wall Mural?
- Shop Our Full Range of Wallpaper Murals
- FAQs
Tools and Materials You'll Need
Before you start your mural installation, make sure you have:
- Tape measure and pencil
- Spirit level, plumb line, or laser level
- Pre-mixed paste-the-wall adhesive (non-woven paste recommended; avoid powdered paste)
- Wallpaper brush or roller
- Utility knife or craft knife
- Smoothing tool or squeegee
- Seam roller (optional but recommended)
- Clean, damp sponge or cloth
- Drop cloth or protective floor covering
Preparation Before Installing a Wall Mural
- Work with a partner: Installation is easier with two people.
- Freshly painted walls should be left for 4 weeks before application.
- Check wall surface: Ensure it’s flat, clean, smooth, dry, and evenly colored.
- Smooth rough areas: Sand bumps with 1200 grit sandpaper.
- Remove old backing paper: Any previous wallpaper should be removed.
- Check porous surfaces: Ensure plaster or cement render is stable and free of mould.
- Acclimatise the mural: Leave panels in the room for 48 hours before application.
How to Apply a Wall Mural Step-by-Step
Step 1 - Lay Out Your Mural
- Unroll and separate all panels in order.
- Cut between panels along black cut lines if needed.
- Panels are numbered from left to right at the top and bottom.
Step 2 - Draw a Vertical Line
- Measure 45 cm from the left side of the wall (48 cm panel width minus 3 cm trim).
- Use a spirit level or plumb line to draw a vertical guide.
- Tip: A laser level can make this step easier.
Step 3 - Paste the Wall
- Apply a thin layer of pre-mixed paste to the wall.
- Be careful not to over-apply; too much paste can soak the paper and cause shrinkage.
Step 4 - Install Panel 2
- Start with the top of the panel 3 cm higher than the wall.
- Line the left-hand edge with the vertical guide.
- This leaves space on the left for Panel 1.
- Tip: Ensure the panel is straight; it determines the alignment of the remaining panels.
Step 5 - Install Panel 1
- Butt the right-hand edge of Panel 1 against Panel 2.
- Maintain around 3 cm of excess material at the top, left, and bottom.
- Trim diagonally in corners if needed to fold neatly at edges.
Step 6 - Install Remaining Panels
- Continue with Panel 3 and the rest.
- Align edges carefully and butt them together (no overlap).
- Use a brush or smoothing tool to remove air bubbles.
- Use a seam roller for joins, and gently wipe away excess paste.
Step 7 - Trim Edges
- Use a utility or craft knife to trim against walls, ceilings, and skirting boards.
Step 8 - Leave to Dry
- Allow 12–24 hours for the paste to dry.
- Avoid temperature or humidity changes; turn off heating/cooling systems during this period.
Top Tips for a Successful Mural Installation
- Two-person team: Makes alignment easier.
- Avoid direct sunlight: Prevents adhesive issues.
- Be patient: Wait at least 24 hours before touching or cleaning.
Ready to Apply Your Wall Mural?
By following these instructions, you now know how to apply a wall mural using the traditional paste-the-wall method. Proper preparation, accurate measurements, and patience will ensure a professional finish that completely transforms your space.
For removable peel-and-stick murals, take a look at the full installation instructions.
Shop Our Full Range of Wallpaper Murals
Murals work beautifully in every space, whether it’s a relaxing bedroom mural, a statement hallway design, a stylish bathroom mural, or a welcoming kitchen feature wall. Explore our full range of wallpaper murals to find the perfect style for your home.
FAQs
Do I need to overlap the panels when applying a wall mural?
No, our murals are designed to be butt-joined, meaning the edges should line up exactly without overlapping. This ensures the design matches seamlessly.
How should I cut around sockets, switches, or wall fixtures?
First, turn off the electricity for safety. Then, apply the mural panel over the socket or fixture and make a small cut from the centre outward with a sharp craft knife. Carefully trim around the edges before smoothing the mural back into place.
How do I remove a mural safely?
For paste-the-wall murals, use a wallpaper steamer. Peel-and-stick murals can be removed manually.
Can I apply a wall mural in a bathroom or kitchen?
Yes, but only on walls that are free from constant moisture or steam. Murals can be installed in kitchens and bathrooms as long as they’re applied to smooth, dry walls away from direct water contact.